HiMap
📅 22. 4. 2024
HiMap is a console application that allows you to download Google Maps with custom styling, with any supported zoom and at any size. The program is written in Python and relies on the Google Maps Static API, through which it sequentially requests parts of the map and then uses the PIL library to assemble them into one large image.
This project is available on GitHub:
Motivation
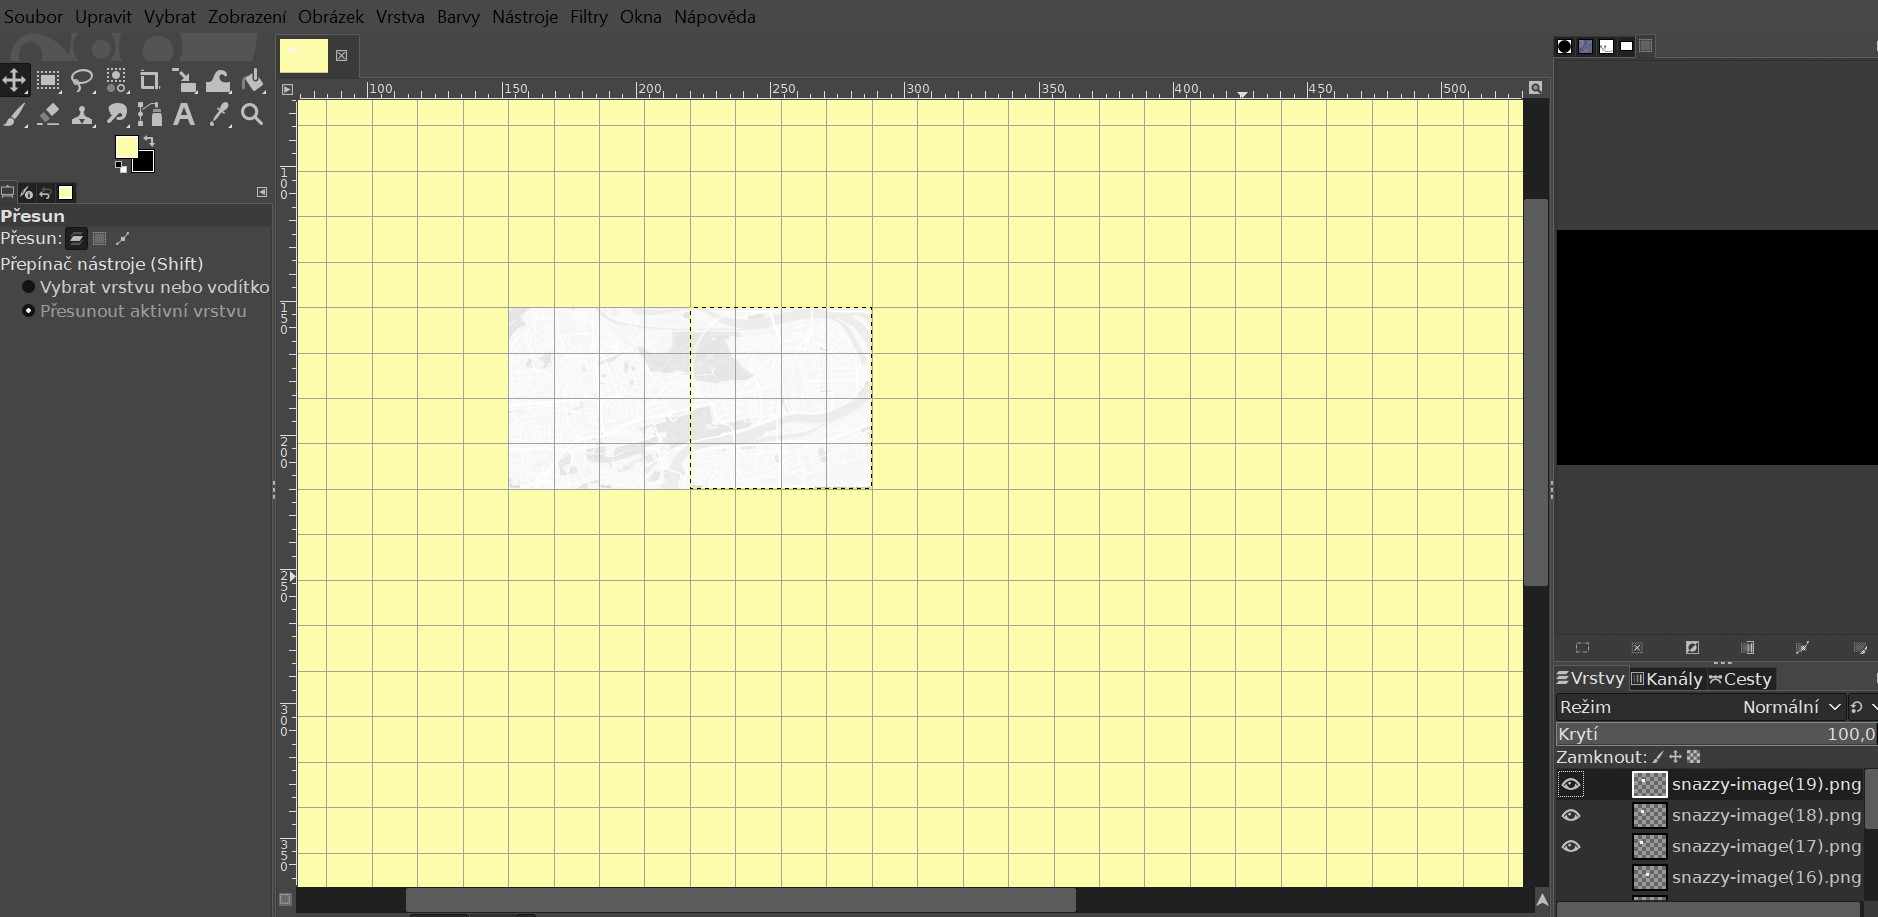
One fine Friday afternoon I’m sitting in the library and suddenly my friend Damian starts spamming me with angry messages - he’s trying to make a big map of Prague with his own styling. He’s using Snazzy Maps, where he’s defined the style, and he’s gradually scrolling through the city with a sliding square, downloading the cutouts and then piecing them together in Gimp, in a grid larger than 30x30 squares.

Unfortunately Snazzy Maps, perhaps due to a rounding error, don’t shift the square by as much as they claim. The edges don’t align, Damian is loosing his mind, and as if that wasn’t enough only ten such images can be downloaded per day. Simple reasoning leads to the conclusion that it will take him more than a quarter of a year to put the whole map together. But only if someone doesn’t automate this task!
It’s time to automate things!
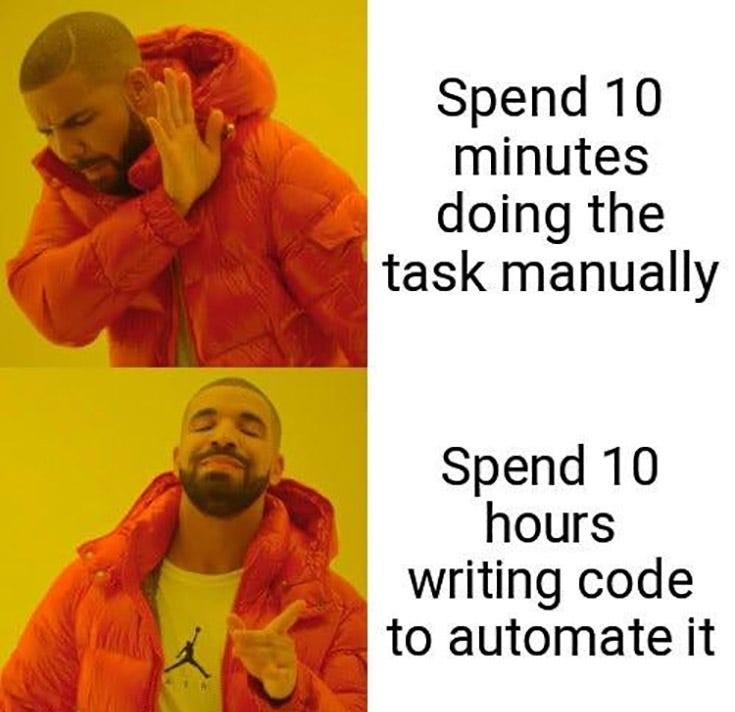
Anyone who has ever wanted to make their job easier with a simple script has felt the message of this meme:

The idea that we would just stack the already downloaded images together soon fell apart - manually downloading hundreds of them, even without these various restrictions, would take a really long time, so we had to go straight to the source. Snazzy Maps does in fact use Google Maps, which it displays with a user-defined appearance. The plan is simple: take Google Maps, apply Damian’s style on it, and download the image at the desired resolution.
Yikes, you need the Google Maps Static API for that, never mind, I’ll learn how to use it and download the image at the resolution I want. After about an hour and a half of effort (to be completely honest: Google’s documentation has great SEO, while the content isn’t so great or useful), where I consented to give Google both of my kidneys and entered my credit card info a few times somewhere, I finally had my own API key and a “working” Python script that can call the Maps Static API. Well, now it’s easy - I send my own coordinates, define the style, and download the image at the desired resolution!

And because nobody wants to use a map of Prague that has a resolution of 640x640 pixels, we have to download several images at once and then stitch them together into a single one.
Downloading, caching and similar usage of Google Maps violates the TOS, therefore I disclaim any liability arising from the use of this program. More at Google Maps TOS, to be more specific: paragraph 3.2.3 a).
Features
The user specifies the map coordinates (or one coordinate and the total size), zoom level, map style, and enters their API key. The result is a map matching the requirements stored in PNG.
You can use Snazzy Maps to style the map and then download the style as a JavaScript Style Array directly from the SM editor.

The resulting map has size of width*640 x height*614 px.
Limitations
Unfortunately, the Earth is not flat, so we have to accept that linear approximations do not work in extreme cases. This approach breaks around the poles, for example, but works perfectly for countries in Europe.
Installation and use
The script is controlled from the command line. You need to have Python 3.11 or higher installed. After cloning the repository from GitHub, we first create a virtual environment and install the necessary packages using commands:
# creating venv:
python -m venv .venv

# venv activation:
# linux
source .venv/bin/activate
# windows cmd
.venv/Scripts/activate.bat
# windows PS
.venv/Scripts/Activate.ps1

# installing requirements:
pip install -r requirements.txt
Something like (.venv) should now appear at the beginning of the new command, indicating that we are in a virtual environment.
The script is used as follows:
python3 -m app output_path optional_params
output_path- the result will be stored here
--start X Y- where
XandYare the latitude and longitude in degrees of the upper left corner of the map XandYarefloat
- where
--end X Y- where X and Y are the latitude and longitude in degrees of the bottom right corner of the map
XandYarefloat
--width X- map width as the number of squares that make up the final map
Xisuint
--height X- map height as the number of squares that make up the final map
Xisuint- these parameters can be used for debugging (for example, to check the alignment of map pieces:
--width 2 --height 2)
-z X, --zoom X- Google Maps zoom level, determines the zoom of the map
Xisunint,0 <= X <= 19
--style path_to_style- path to
JSONwith styling to be used on the map
- path to
--save- if this flag is set, all parts of the map that the script pulls from the Google server during runtime are saved in the same directory as the final map
--key api_key- the API key is needed to communicate with the Google server, each user has their own
--store- saves the specified API key for further use
- there is no need to enter the key when the script is run again, it reads it itself from the created
TXTfile
The stored API key is not encrypted in any way, it is saved as plain text in the directory from which the script is run. It is therefore visible to everyone who has access to the folder.
Since it is significantly easier to crop the map than to struggle with shifting coordinates because of a few pixels, a padding is added around the specified coordinates, from 320 to around 640 px.
How does it work?
If a style has been defined by the user, the script loads it, and then starts sending requests to the Google server, from where it downloads styled images one by one. It then stitches these into a big one. The size of the downloaded images is 640x614 px, because the bottom of the image contains the Google logo and the words Map data © 2024. We don’t want either of these things in the final map, so we simply cut them out.
Sending requests
Request format:
"https://maps.googleapis.com/maps/api/staticmap?center={center}&zoom={zoom}&size={size}&style={style_parameters}&key={api_key}"
Since the requests are sent to the server in degrees of latitude and longitude, and we work with maps in a scope of a town in meters/kilometers, it is necessary to first calculate how many degrees the queries should be shifted when we compose a large map. At each step we move some degrees to the right, and when we stitch together one row of the map, we have to move to the next - it’s the longitude shift calculation that is the most painful part.
Longitude change
All constants are calculated for Prague. To calculate the final latitude shift, we take the default value for Prague, multiply it by the ratio “how many kilometers will I walk if I shift 0.01 W in Prague / in the new location for which we are creating the map”.
If we were to use the “Prague” constant for the whole country, we would quickly find out that the map pieces don’t align, for example in Rumburk the distance ratio is about 1.0166 (we are off by more than 16 meters per kilometer), for Breclav in southern Moravia the error is about 30 meters.
Zoom
The change of coordinates along the axes is multiplied by the ratio between the default zoom 16 and the specified one. I got the numbers for this calculation from this answer at Stack Exchange.
Stitching the map
The PIL library is used to create an empty canvas into which the downloaded images are pasted one by one. If the --save option is selected, parts of the map are saved in the same directory as the final map, otherwise the program loads an image and pastes it on the canvas immediately without saving it.

